
Last updated September 20, 2026
Full 25-point door and opener safety check with every visit - springs, cables, rollers, tracks, and your LiftMaster or Chamberlain opener included
You get a price before we start. It does not change when the truck arrives.



 Before
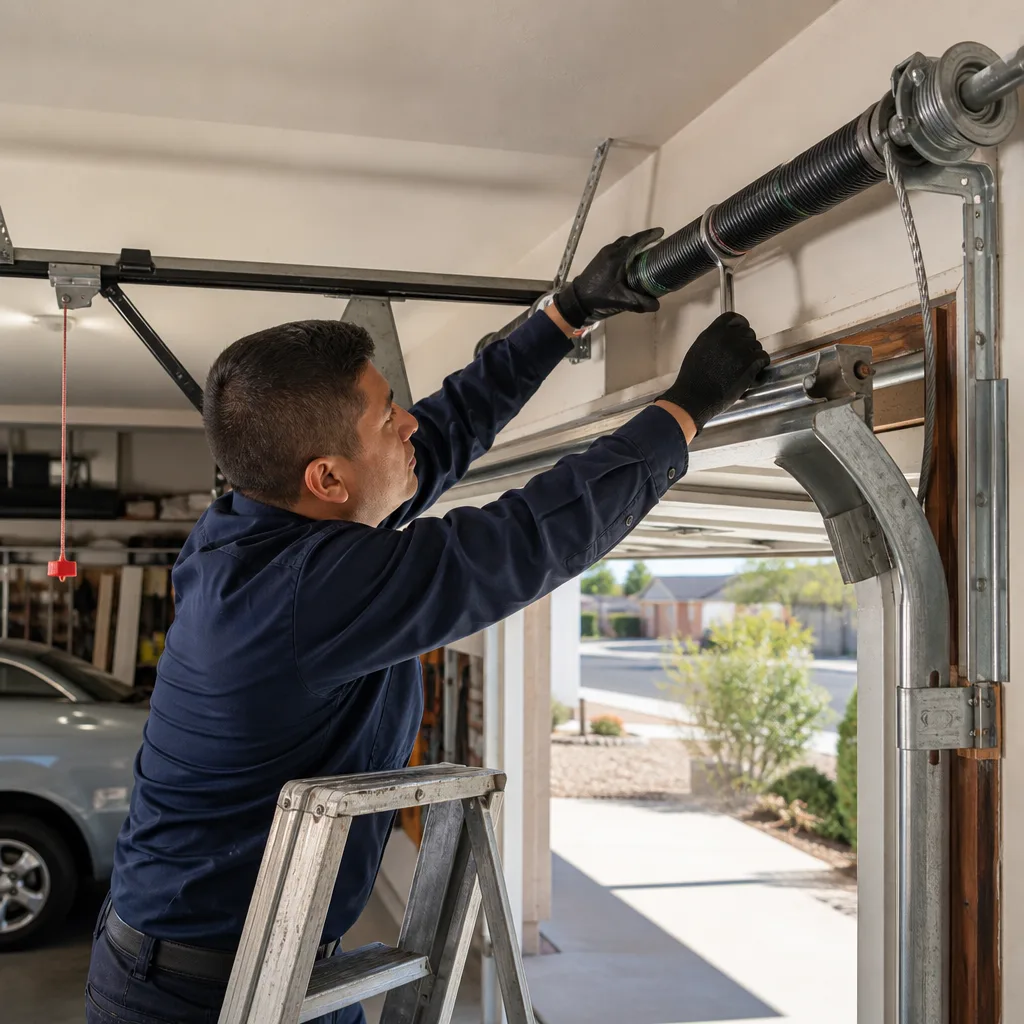 After
After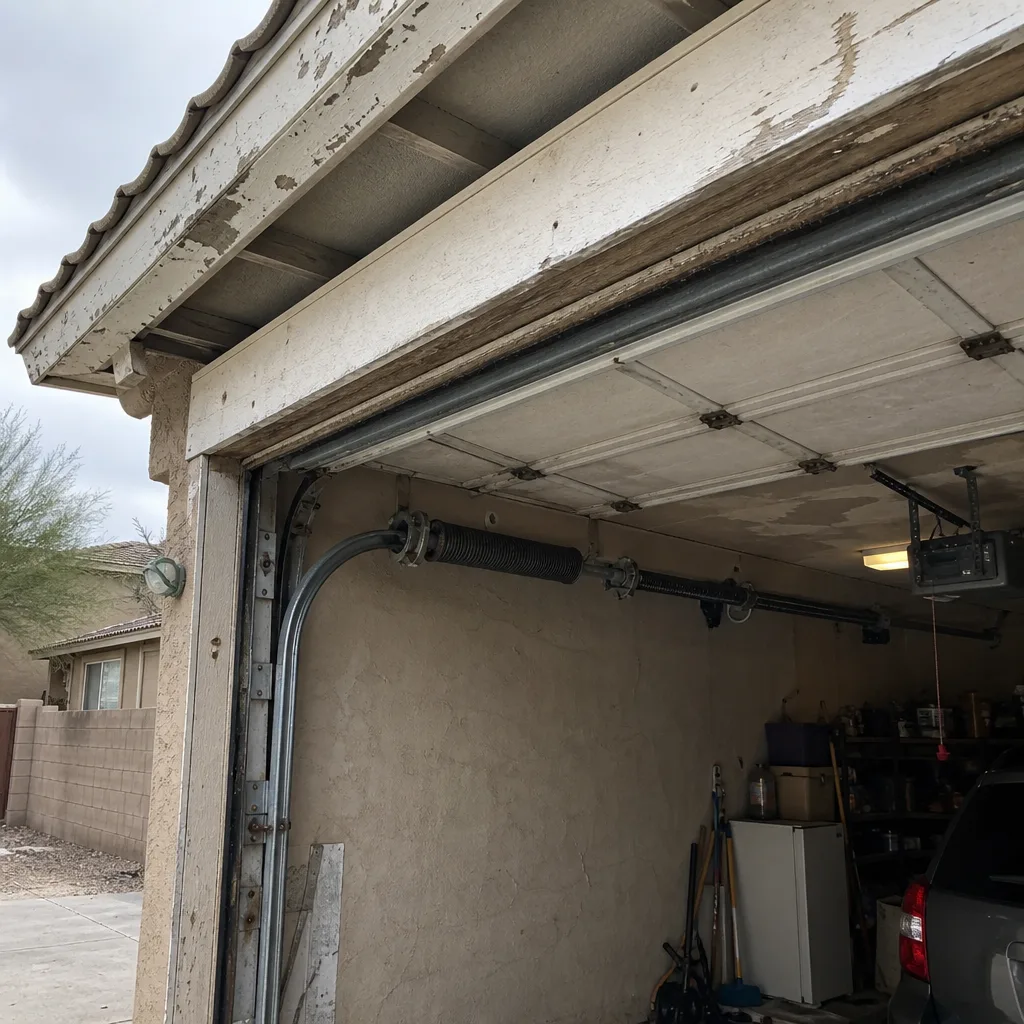 Before
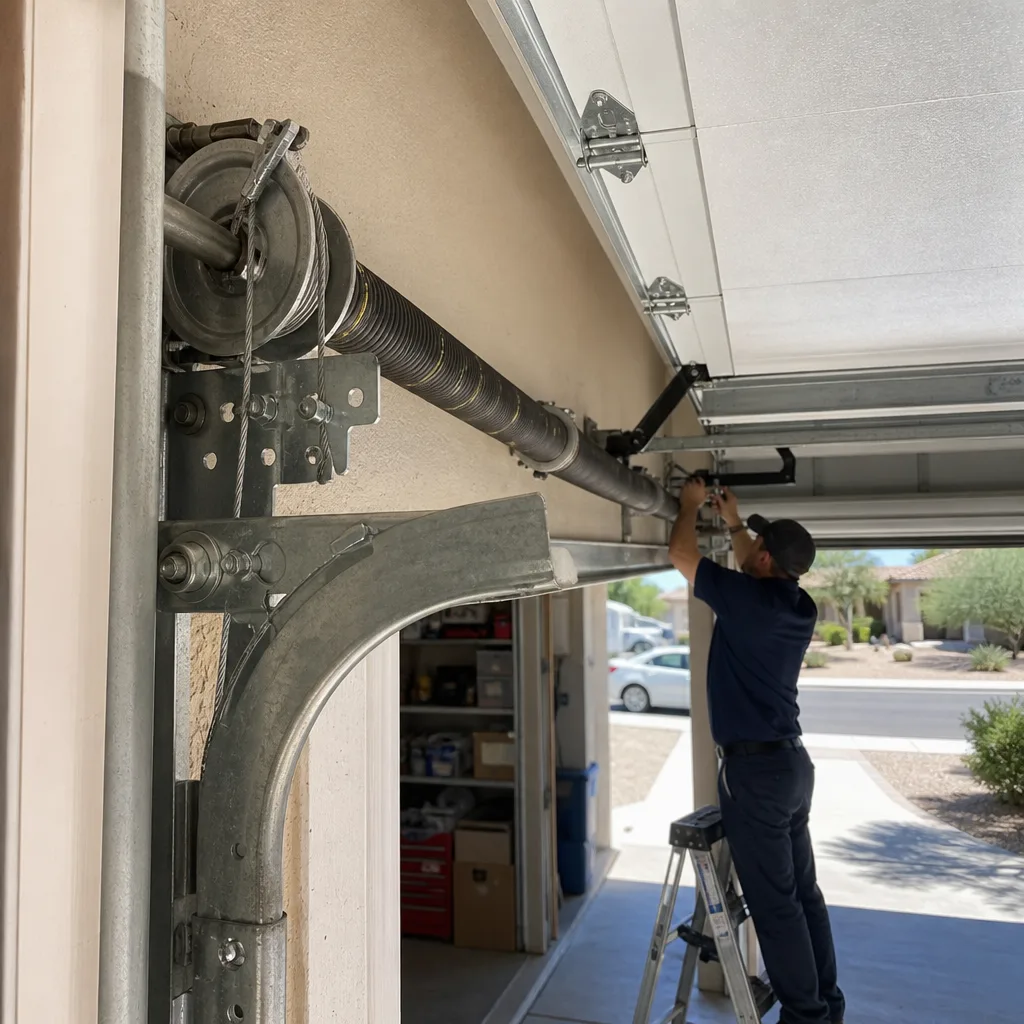 After
After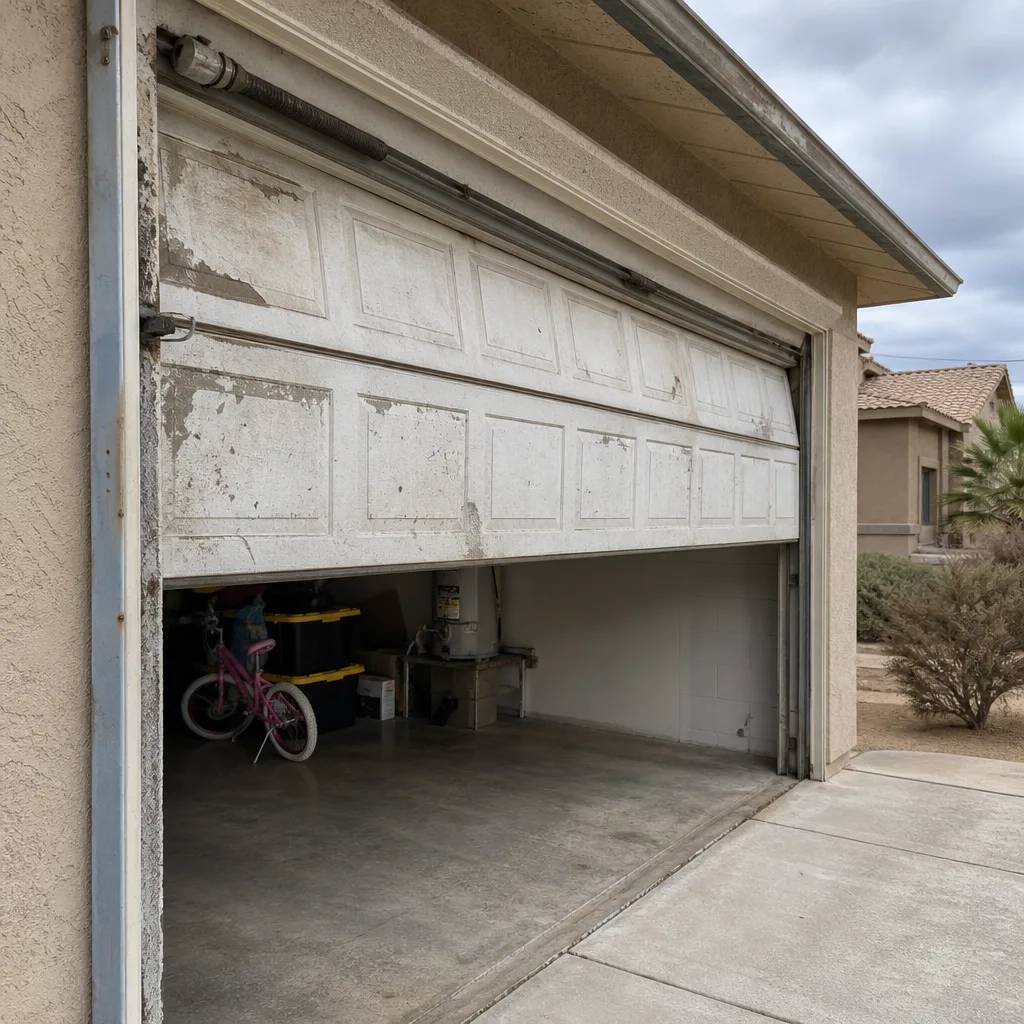 Before
 After
AfterDIY vs Professional Garage Door: The Phoenix Homeowner’s Decision Guide
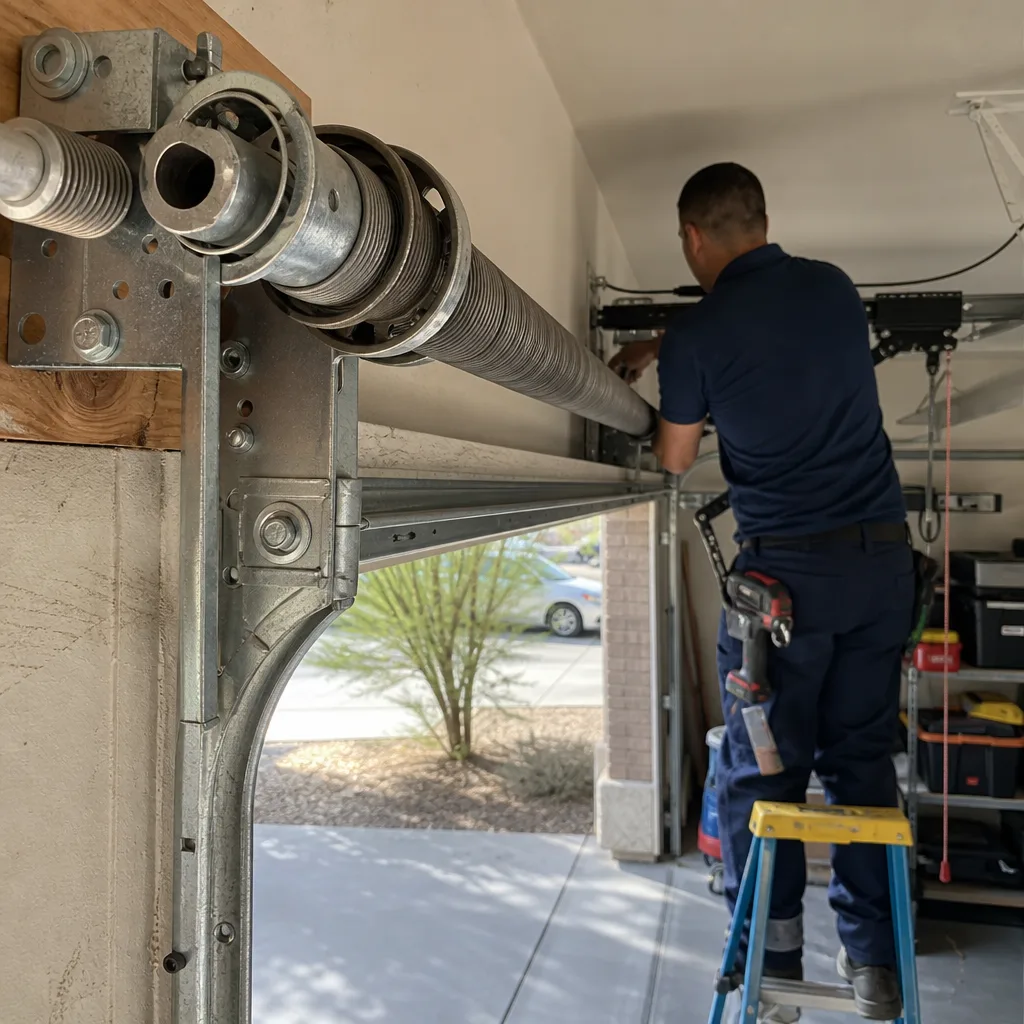
A torsion spring stores between 100 and 300 foot-pounds of torque when fully wound. That is enough energy to break a wrist, fracture an orbital bone, or remove fingers if the winding bar slips. This is not a skill threshold. It is a consequence of mechanical physics that applies equally to a licensed contractor who skips the safety step and to a Phoenix homeowner who watched a YouTube video and feels confident. This guide draws the line between what you can safely do yourself and what belongs in the hands of a professional, based on one factor: whether the component is under stored energy. For a full maintenance checklist Phoenix homeowners can follow safely, see our companion resource. We will give you the task classification, the real dollar figures for Phoenix, the tool requirements, and the documentation method that protects your warranty and your resale value.
Quick Answer
The DIY-versus-professional decision on a garage door is not about how handy you are. It is about physics. Tasks on components that are not under stored energy, like weatherstrip replacement, photo-eye alignment, lubrication, and limit switch adjustment, are safe and reasonable DIY projects for an informed Phoenix homeowner. Tasks on components under stored energy, like torsion springs, extension springs, and cables under tension, require professional training and tools because the failure mode is catastrophic injury, not a bad repair. In Phoenix specifically, the 110°F summer heat changes how lubricants, adhesives, and metal components behave during a repair, which adds another layer of risk most online tutorials do not account for.
Table of Contents
- The Risk Categorization: Stored Energy vs. Static Components
- Tasks Safe for an Informed Homeowner
- Tasks That Require Professional Tools and Training
- The Cost-Versus-Risk Calculation: Real Phoenix Numbers
- Phoenix-Specific DIY Considerations: Heat, Hardware, and Curing Times
- What Tools You Actually Need for the Safe DIY Tasks
- How to Document a DIY Repair Like a Professional
- Common Mistakes to Avoid
- When to Call a Professional
- Frequently Asked Questions
- The Bottom Line
BeforeAfterThe Risk Categorization: Stored Energy vs. Static Components
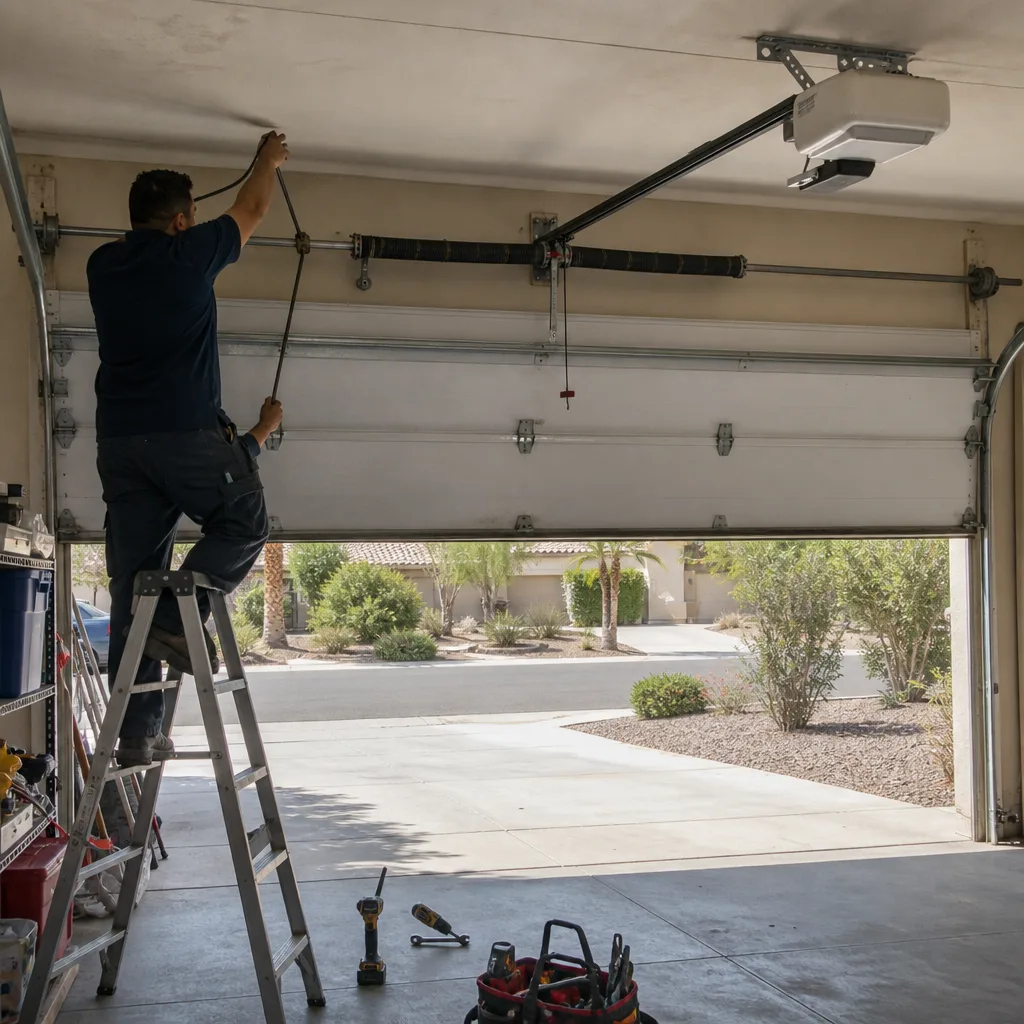
Garage doors look like one big machine, but they are really two separate systems bolted to the same frame. The first system moves the door: springs, cables, drums, and track. The second system controls the movement: opener, logic board, limit switches, and photo-eyes. The first system contains stored energy when the door is closed. The second system does not.
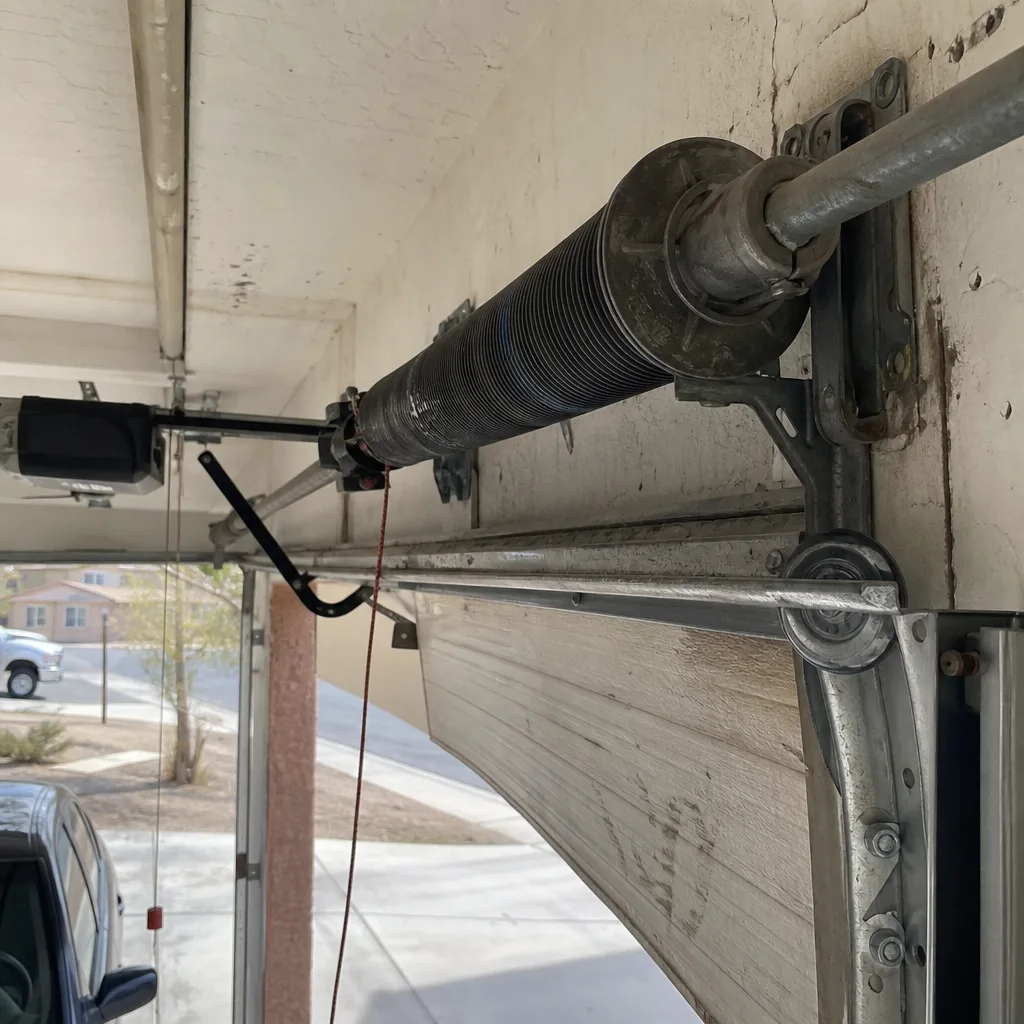
A torsion spring is a steel coil mounted above the door opening. When the door closes, that spring winds tighter and stores rotational force. A cable under tension is a steel wire holding several hundred pounds of door weight. When a cable snaps or a spring breaks, that energy releases instantly. There is no pause, no warning, and no way to stop it halfway. This is why the line between DIY and professional is drawn at the spring and cable assembly. Everything behind that line is fair game for a homeowner with basic tools and a clear procedure. Everything on the spring side is not.
In our experience across Phoenix, from Arcadia to Ahwatukee, the homeowners who get injured are rarely careless people. They are careful people who did not know which side of the line they were standing on. That is the gap this guide closes.
Tasks Safe for an Informed Homeowner
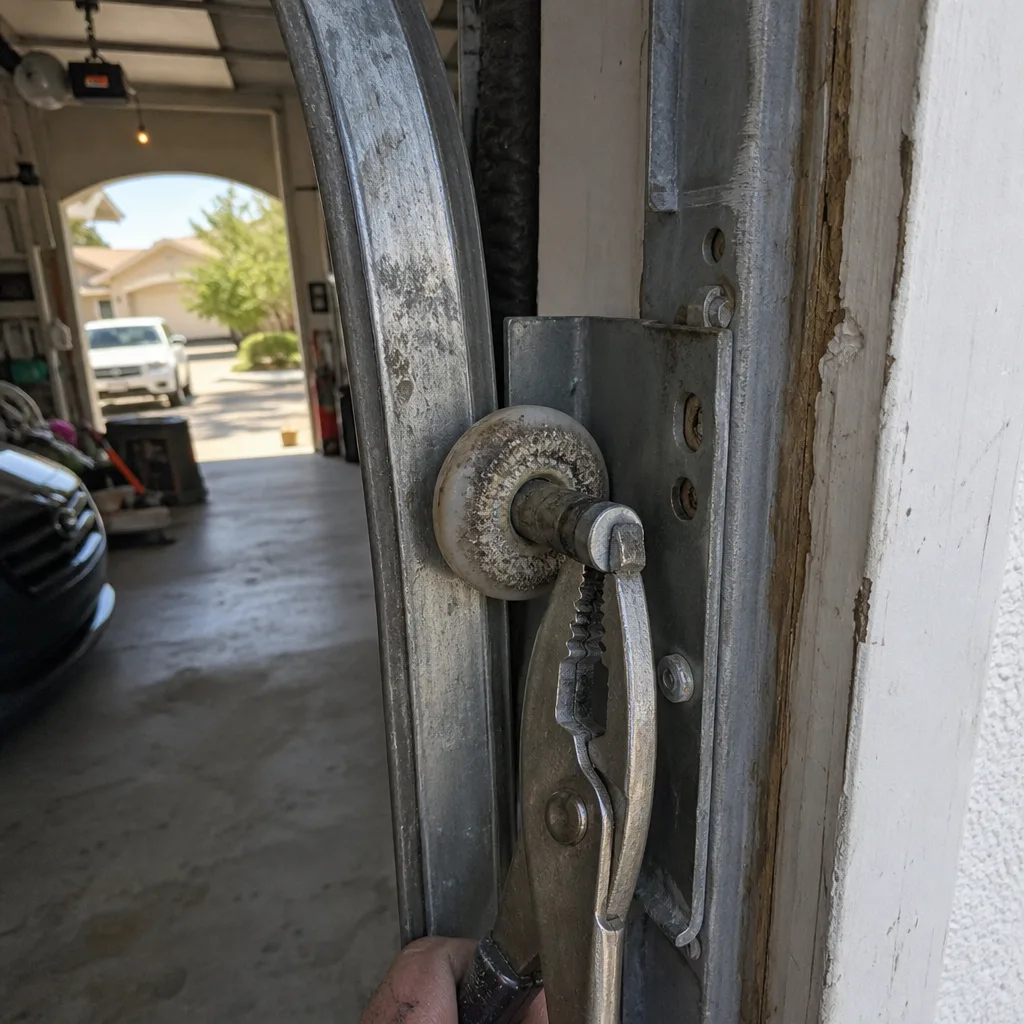
The following tasks involve components that do not store mechanical energy. If you make a mistake, the consequence is a misaligned door or a bad seal, not an injury. These are reasonable DIY projects for a Phoenix homeowner who reads the manual and works methodically.
Weatherstrip and Bottom Seal Replacement
The rubber strip along the bottom of your garage door degrades in Phoenix heat. After three or four summers, it cracks, flattens, and stops sealing. Replacing it is a slide-out, slide-in job on most doors. You need a utility knife, a tape measure, and the correct replacement seal for your door brand. Chamberlain, LiftMaster, and Craftsman doors all use different channel profiles, so verify the part number before you buy. This task takes about thirty minutes and costs $15 to $40 in materials.
Photo-Eye Alignment
The photo-eyes are the two small sensors mounted six inches off the ground on either side of the door opening. If one gets bumped by a trash can or a bicycle, the door will refuse to close. Alignment is a matter of loosening the mounting bracket, pointing both sensors at each other until the indicator lights turn solid, and tightening the bracket again. No special tools required. If the lights do not turn solid after alignment, the issue is likely a wiring fault or a failed sensor, which is a different job.
Lubrication
Phoenix dust and heat dry out garage door hardware faster than most climates. A dry roller or hinge causes friction, which causes wear, which causes a repair call that could have been avoided. Lubricating hinges, rollers, and the opener rail twice a year is a legitimate DIY task. Use a white lithium grease or a silicone-based garage door lubricant. Do not use WD-40 on moving parts; it is a solvent, not a lubricant, and it will strip the existing grease. Do not lubricate the torsion spring itself. The spring coils do not need lubrication, and reaching up to spray them puts your hands near the stored-energy component for no reason.
Limit Switch Adjustment
The limit switch tells the opener when to stop the door at the top and bottom of its travel. If the door reverses immediately after hitting the floor, or if it stops an inch short of closed, the limit switch is the first thing to check. On most LiftMaster and Chamberlain openers, this is a small dial or screw on the opener unit itself, adjusted with a flathead screwdriver. The procedure is in your opener manual, and the consequence of getting it wrong is a door that does not close completely, not an injury. Make adjustments in quarter-turn increments and test after each one.
Tasks That Require Professional Tools and Training
These tasks involve the stored-energy system: torsion springs, extension springs, cables, and anything connected to them. The distinction is not about difficulty. It is about what happens if the tool slips.
Torsion Spring Replacement and Winding
A torsion spring is wound with two steel winding bars inserted into the winding cone. If a bar slips or the cone fails, the spring unwinds at full speed with a person’s hands and face directly in the path. This is the single most dangerous component in residential construction, and the injury rate reflects it. Winding a torsion spring requires purpose-built winding bars of the correct diameter, not screwdrivers or socket extensions. It requires knowing the correct number of quarter-turns for the spring’s wire diameter, length, and the door’s weight. It requires a process of locking the spring in place between turns. None of this is secret knowledge, but the cost of a mistake is permanent.
Cable Replacement and Re-Threading
The lift cables run from the bottom brackets, up the sides of the door, and wrap around the drums at the top. When the door is closed, these cables are holding several hundred pounds. Replacing a frayed cable or re-threading one that has jumped the drum requires releasing tension from the spring system first. If you remove a cable while the spring is still wound, the door can drop or the spring can unload into the drum. Professional cable replacement is a controlled sequence of releasing tension, replacing the cable, and re-tensioning the system. This is not a task to attempt with a pair of pliers and a good attitude.
Track Realignment Under Load
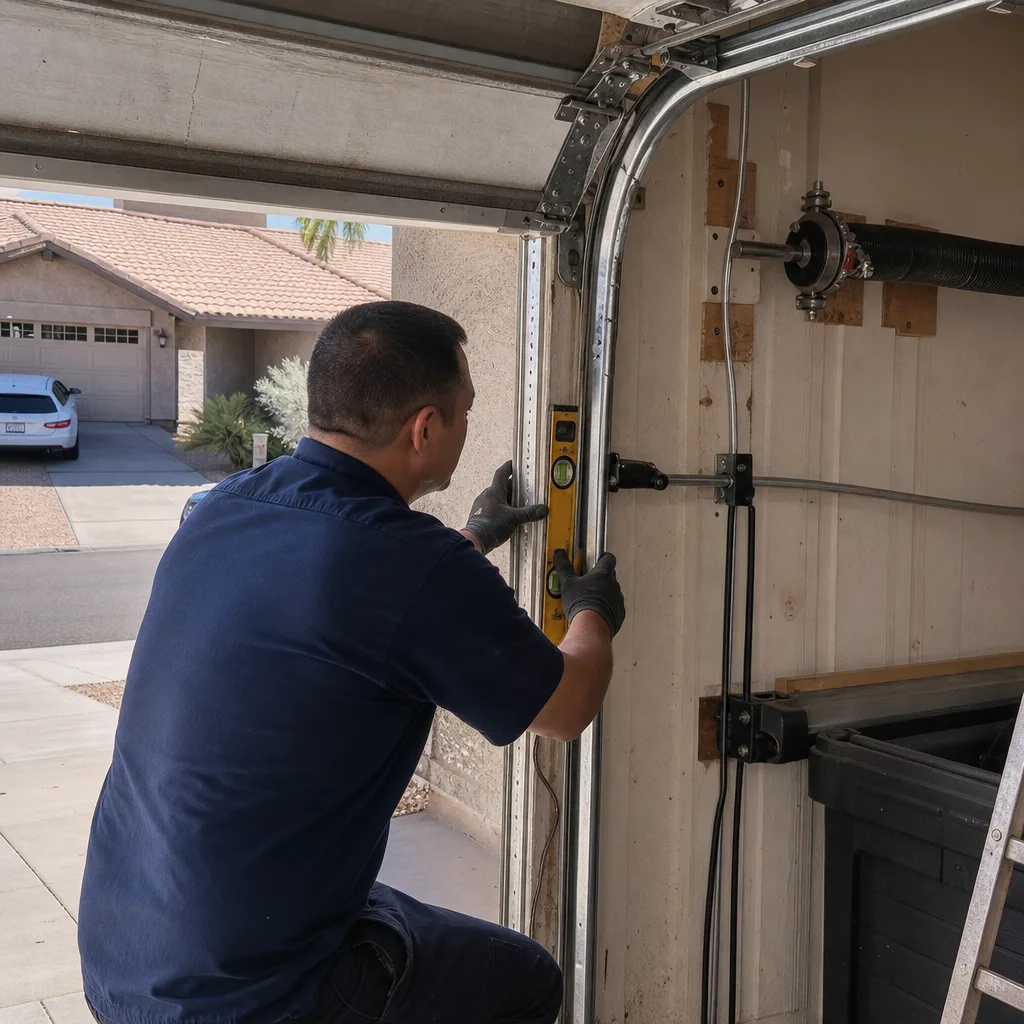
Garage door tracks are bolted to the wall and ceiling. Over time, a track can shift, especially in Phoenix where stucco expands and contracts through the summer heat cycles. Realigning a track while the door is down and the springs are wound means wrestling a heavy object against stored energy. If the track bracket lets go while you are prying on it, the door can shift suddenly. A professional realigns the track as part of a full inspection, checking the balance of the door after the adjustment to make sure the spring tension still matches the door weight.
The Cost-Versus-Risk Calculation: Real Phoenix Numbers
The DIY argument usually comes down to money. So let us put the numbers on the table, using Phoenix market rates as of 2025. For deeper context, see our Garage Door Cost Breakdown: The Phoenix Homeowner’s Reference for 2026.
| Task | Typical DIY Material Cost | Typical Phoenix Professional Cost | DIY Savings | Primary Risk |
|---|---|---|---|---|
| Weatherstrip replacement | $15-$40 | $90-$150 | $75-$110 | Low: incorrect seal part, poor fit |
| Photo-eye alignment | $0 | $85-$130 | $85-$130 | Low: misdiagnosed sensor failure |
| Lubrication | $10-$20 | $75-$120 | $65-$100 | Low: using the wrong product |
| Limit switch adjustment | $0 | $85-$140 | $85-$140 | Low: door does not close properly |
| Torsion spring replacement | $60-$120 (pair of springs) | $250-$400 | $130-$340 | Severe: catastrophic injury risk |
| Cable replacement | $25-$50 | $150-$250 | $100-$225 | Severe: door drop, spring unloading |
Look at the savings column for torsion spring replacement. You can save $130 to $340 by doing it yourself. Now look at the risk column. The math changes when you factor in what a single urgent care visit costs with a high-deductible health plan, or what two weeks of missed work looks like for a self-employed Phoenix homeowner. The savings on a spring replacement does not cover the copay.
The safe DIY tasks save you between $65 and $140 each time you do them. Across a year of basic maintenance, that is real money. The dangerous tasks save you a few hundred dollars once every seven to ten years, which is the typical lifespan of a torsion spring in Phoenix. That is not a fair trade. As Servo Garage Doors Phoenix home has documented since 2015, the cost of a professional spring replacement is a known, written number before we touch anything. The cost of a DIY spring mistake is not knowable in advance, and that is the point.
Phoenix-Specific DIY Considerations: Heat, Hardware, and Curing Times
Phoenix is not like other markets. Most garage door tutorials are filmed in mild climates where a garage stays under 90 degrees. That is not a Phoenix garage in July. Here is what the heat actually does to your DIY project.
Lubricants cure faster in heat. The white lithium grease you apply in April will behave differently than the same product applied in August. At 110°F, the carrier solvent evaporates before the lubricant has fully spread into the joint. This means the product you are applying is not doing what the label assumes. Read the temperature range on any lubricant or adhesive before you use it in a Phoenix summer garage. If the product lists “apply above 50°F” but does not list an upper limit, assume the upper limit is lower than your garage floor temperature in August and work in the early morning.
Metal expands. Garage door track, brackets, and hardware all expand in heat. A track that binds in the afternoon may be perfectly aligned at 7 a.m. This is why track alignment issues in Phoenix should be diagnosed at the temperature where the door is actually used, not at the temperature where it is convenient to work.
Adhesives and weatherstrip seals set too fast. The contact cement you use to install a new bottom seal will tack up almost immediately in a hot garage. You get one chance to position the seal correctly before it grabs. In cooler climates, you have working time to adjust. In a Phoenix August, you do not. This is not a reason to avoid the DIY task; it is a reason to do the prep work before you open the adhesive tube.
Heat also affects the door’s balance. A torsion spring’s tension is set for the door’s weight. Heat does not change the door’s weight, but it does change how the metal track and rollers interact. A door that was balanced in January may grind slightly in July because the track has expanded. This is normal and usually resolves when the temperature drops. If the grinding persists through the fall, it is a real issue worth a professional look.
What Tools You Actually Need for the Safe DIY Tasks
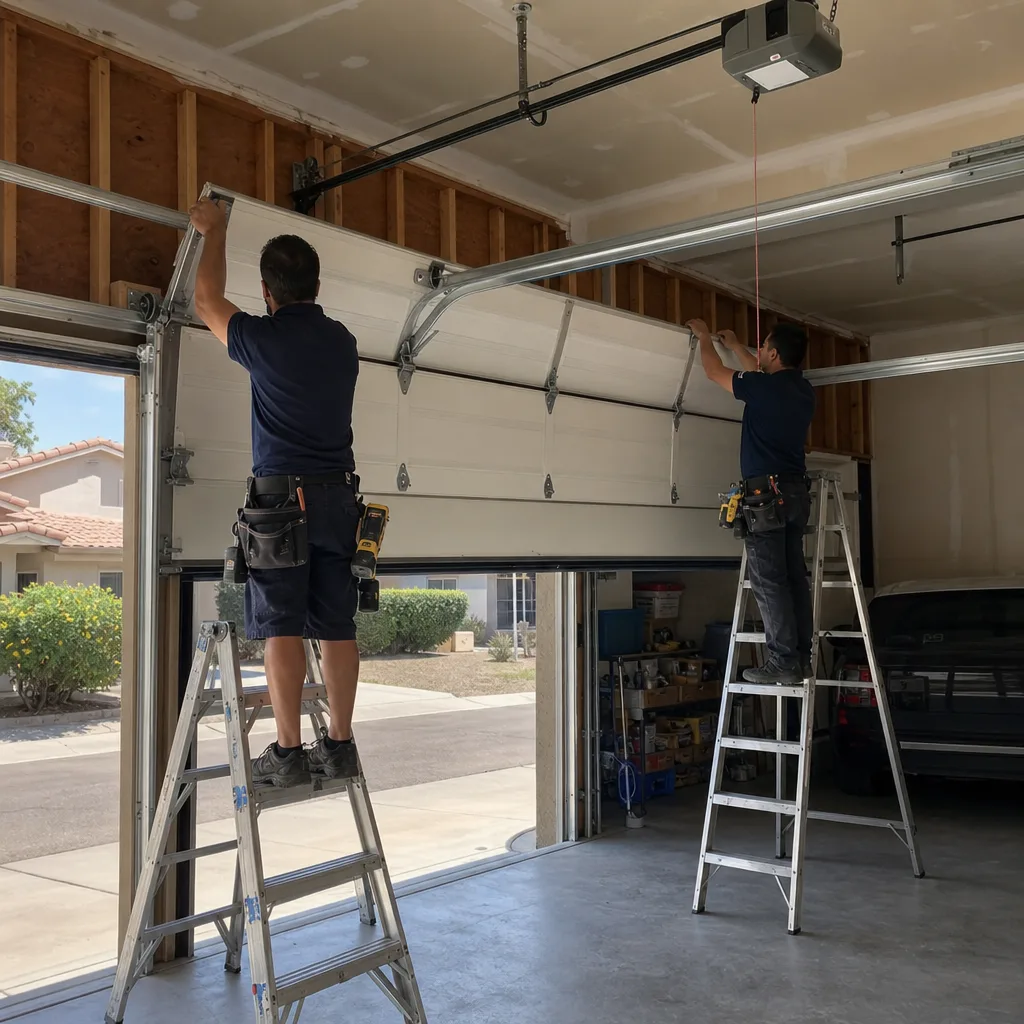
Before you start any of the safe DIY tasks, verify you own these tools. If you do not, add the tool cost to your DIY savings before you decide whether the project is worth it.
- Flathead screwdriver: required for limit switch adjustment and removing old weatherstrip retaining clips.
- Phillips screwdriver: required for photo-eye bracket adjustment and lubrication access on some opener models.
- Utility knife with fresh blades: required for weatherstrip trimming. A dull blade tears the rubber instead of cutting it.
- Tape measure: required for measuring the bottom seal length and verifying door panel alignment before and after the project.
- 6-foot step ladder: required for reaching the opener rail and the top hinges. Do not stand on a bucket or a chair. Do not climb on the door itself.
- White lithium grease or silicone garage door lubricant: required for all lubrication tasks. Verify the product is labeled for garage doors.
- Clean rags: required for wiping old grease off hinges before applying fresh lubricant.
- Work gloves: required for handling metal parts and old weatherstrip with embedded dirt.
Notice what is not on this list: winding bars, a torque wrench, a cable puller, a spring gauge. The moment a tutorial calls for any of those tools, you have crossed from the safe category into the stored-energy category, and that is the moment to stop and make a phone call.
How to Document a DIY Repair Like a Professional
Professionals document repairs for a reason: the record protects both the technician and the homeowner when something goes wrong later. This is especially important given garage door permits, codes & inspections in AZ, which may require documentation for compliance. You should do the same even, and especially, when you do the work yourself. A documented repair is evidence for a warranty claim, support for a resale disclosure, and a reference point the next time the door misbehaves.
- Photograph the failed or worn component before you touch it. A photo of a cracked bottom seal or a misaligned photo-eye bracket taken before the repair tells the story of what was wrong. Take the photo from several angles. On a phone with a timestamp, the photo is a dated record.
- Record the part number of the component you replaced or adjusted. Every garage door part has a model number or a stamped code. Write it down, or photograph it. When the same part fails again in three years, you will know exactly what to order and whether the failure is premature.
- Note the date of the repair and the mileage on the door. A garage door that opens twice a day for eight years has around 5,800 cycles on its springs. A door that opens six times a day with a commuting household and a home gym in the garage has nearly 17,500 cycles in the same period. Date and usage context matter.
- Photograph the completed repair. This is not vanity. This is the “after” record that shows the new seal in place or the aligned photo-eyes. If a warranty claim is needed, before-and-after photos are hard evidence.
- Store the record somewhere you will find it. A dedicated folder in your phone’s photo app, a note in your home file, or a printed sheet in the garage. The record only helps if it exists when you need it three years from now.
This documentation habit traces back to the founding rule behind Garage Door Repair in Phoenix at our company: the customer sees the failed part before anyone quotes a replacement. Clause 4 of The Haven Standard formalizes it. A homeowner who documents their own work is applying the same principle, and that is exactly the right instinct.
Common Mistakes to Avoid
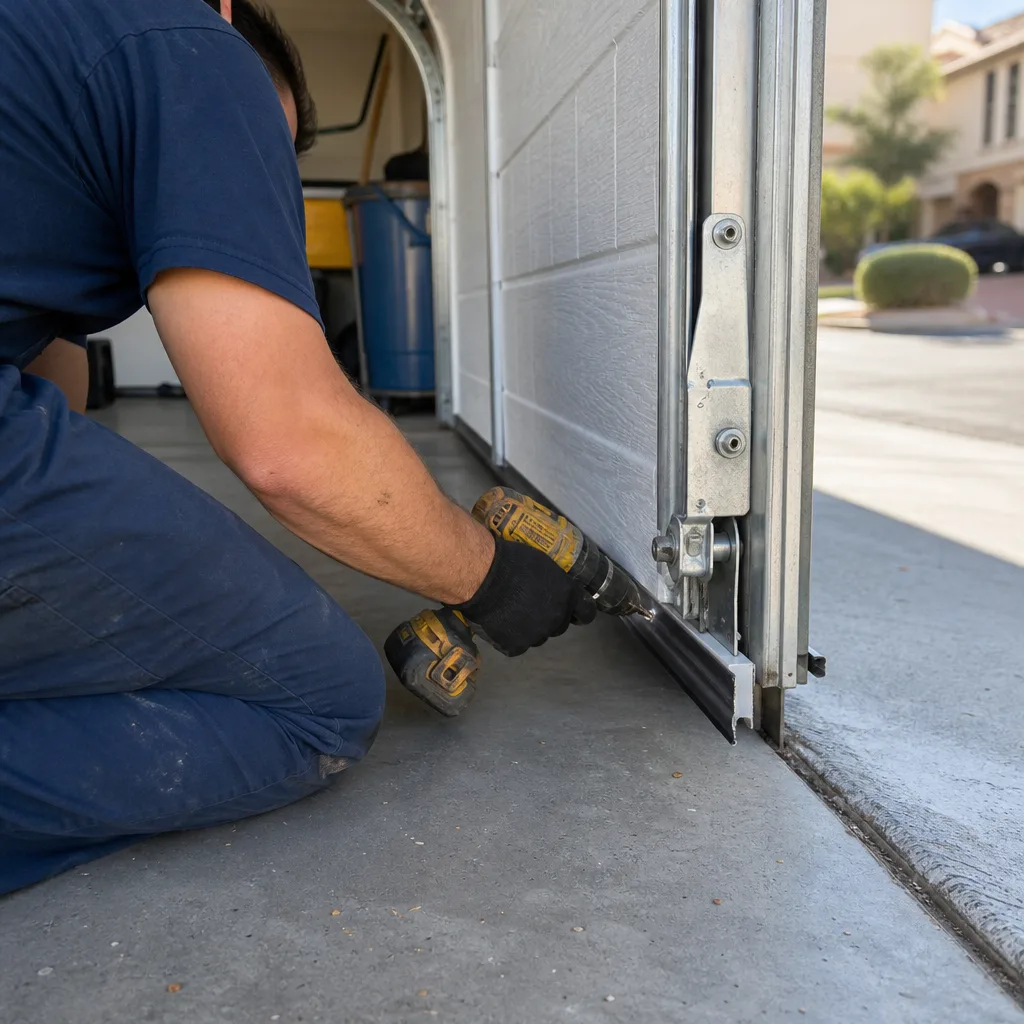
- Using screwdrivers as winding bars. A torsion spring winding cone is designed to accept a specific bar diameter, typically 1/2 inch. A screwdriver is not that diameter. It will slip under load, and the spring will unload into whatever is closest to it, which is your hand.
- Spraying WD-40 on garage door rollers. WD-40 is a water displacer and solvent. It will strip the grease from the roller bearings and attract Phoenix dust, which becomes an abrasive paste. Use a product actually labeled for garage door lubrication.
- Replacing one torsion spring instead of both. Garage doors with two springs have both springs under nearly identical load. When one breaks, the other is at the end of its service life. Replacing only one means paying labor twice and living with an unbalanced door until the second spring fails.
- Adjusting the limit switch before checking the photo-eyes. A door that reverses before closing is often reacting to an obstructed or misaligned photo-eye, not a limit switch problem. Check the simpler, safer fix first.
- Ignoring a frayed cable until it snaps. A cable does not fail overnight. It shows visible fraying for weeks or months before it breaks. If you see steel strands separating on a lift cable, stop using the door and call a professional. The cable is under load every time the door is closed.
- Working on a hot door in the afternoon. In a Phoenix summer, the metal components of a garage door can reach 140°F or more in direct sun. That is a contact burn waiting to happen. Do garage work in the early morning or late evening during the summer months.
When to Call a Professional
Make the call when the task touches a spring, a cable, or a component under the door’s weight. That is the whole rule. A broken torsion spring, a frayed lift cable, a door that is off balance, a door that came off its track, or an opener that is sparking or smoking are all professional jobs. Do not attempt to open a door with a broken spring, even manually; the door is heavier than you can safely control without the spring’s counterweight. Do not try to re-thread a cable while the door is hung. Do not try to reset a track while the door is under tension. Garage Door Installation in Phoenix and repair work both start with a written, flat price before any work begins. If you are in Phoenix and you are not sure which side of the line your problem falls on, call us at (623) 404-9080 and describe what you see. We will tell you honestly whether it is a DIY job or a service call, and the estimate is free either way.
Frequently Asked Questions
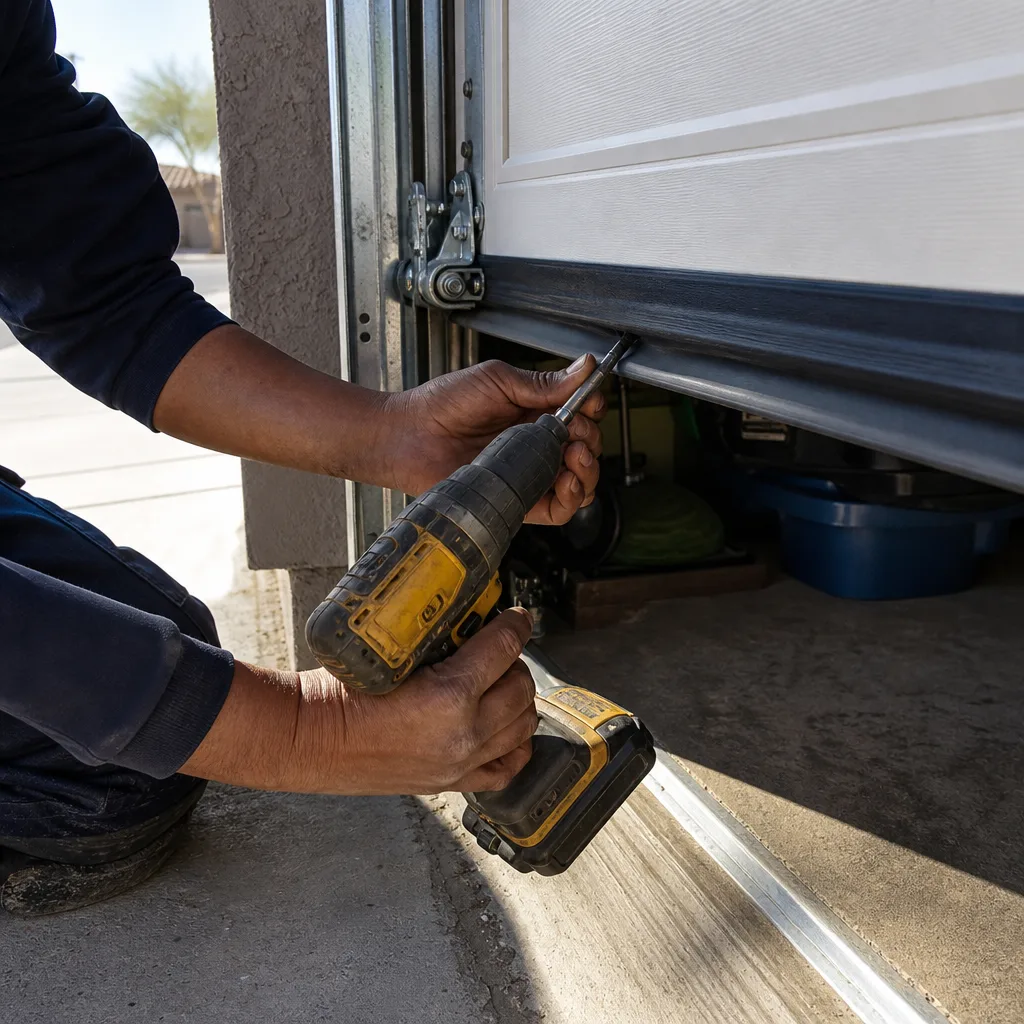
A torsion spring replacement in Phoenix typically costs between $250 and $400 for a pair of springs, installed. The price includes the springs, the labor, and a balance check of the door. A single-spring replacement costs less but is almost never the right choice, because the second spring is at the same point in its service life. Call (623) 404-9080 for a written, flat price on your specific door. Estimates are free, and the number you get is the number you pay.
You can, but you should not. A torsion spring under load stores enough torque to cause permanent injury if a winding bar slips, and the procedure requires tools and training most homeowners do not have. The material savings of $130 to $340 do not offset the risk of a visit to the emergency room. This is the one task we recommend every Phoenix homeowner leave to a professional, regardless of skill level.
You can safely replace the bottom weatherstrip, align the photo-eyes, lubricate the hinges and rollers, and adjust the limit switch on your opener. These tasks involve static components without stored energy. Complete them with basic hand tools and the specific product or part for your door brand, and document each repair with photos and part numbers. For more guides & resources on safe garage door maintenance, explore our blog.
Metal track and hardware expand when the temperature rises, which can make the door bind or grind during the hottest part of a Phoenix summer day. If the door operates smoothly in the early morning and binds by mid-afternoon, the issue is thermal expansion in the track, not a mechanical failure. If the binding persists year-round or worsens over time, have the track inspected.
Twice a year is the minimum in Phoenix, where heat and dust dry out hardware faster than in milder climates. Lubricate the hinges, rollers, and opener rail in the spring and fall, using a white lithium grease or a silicone garage door lubricant. Do not lubricate the torsion spring itself; it does not need it and touching it puts your hands near stored energy.
A straightforward replacement of a garage door on an existing opening typically does not require a permit in Phoenix. However, if the project involves structural changes to the opening, modifications to the framing, or electrical work for a new opener circuit, a permit may apply. Check with the City of Phoenix Planning and Development Department before starting. A licensed Garage Door Opener Repair & Installation in Phoenix professional can also tell you whether your specific project triggers a permit requirement.
The Bottom Line
The DIY-versus-professional line on garage doors is drawn by physics, not by competence. Weatherstrip, photo-eyes, lubrication, and limit switches are safe DIY territory: the worst outcome is a door that does not seal or a sensor that stays misaligned. Springs, cables, and track under load are professional territory: the worst outcome is an injury that changes your life. Phoenix adds a layer of heat-related complexity that most tutorials ignore, and proper documentation protects you whether you do the work yourself or hire it out. When you are not sure, the smart move is a call to a company that quotes a written price before touching anything, shows you the failed part before replacing it, and leaves you with a photo record. If that sounds like the company you want to work with, Servo Garage Doors Phoenix home is ready. Call (623) 404-9080 for a free estimate on any garage door issue, from a simple alignment to a full spring replacement, and you will get a written number before any work begins.
Written by Marcus Deller, Owner at Servo Garage Doors Phoenix, serving Phoenix since 2015.